Connect to a Hub
How to Connect to a HubOverview
Audience
Flow of Events
1. Prerequisites
- The hub you want to connect to must already exist.
- The table to be connected to the hub must have the same number of columns and column names as in the database. In addition, any formulas used in the tables must be the same.
- The name of the Excel table you want to connect to the hub must be the same as the original hubbed table.
- The table that you want to connect to the hub must be in a different Excel file than the hubbed table.
2. Define a Table
Before using XLhub, you need to transform your data into a table:
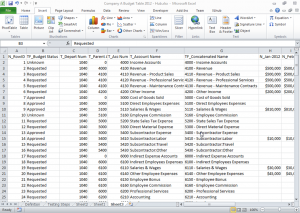
a. Open the Excel sheet with the data you want to hub.
b. Select the data you wish to create into a table. Be sure to include the column headers in your selection, as shown.
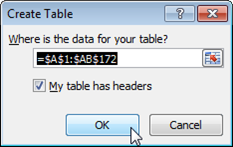
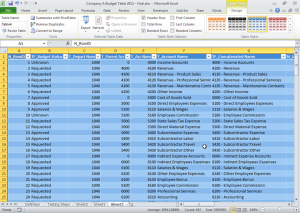
c. Once selected, click the Insert tab and in the Tables section of the ribbon, click Table. Alternatively, press CTRL+T to create a table.

[NOTE: Use the same name table that you used for the previously hubbed table (the table you want to connect to). If the names are not the same, the wizard will not enable connection and a new hub will be created.]
You are now ready to connect to the hub.
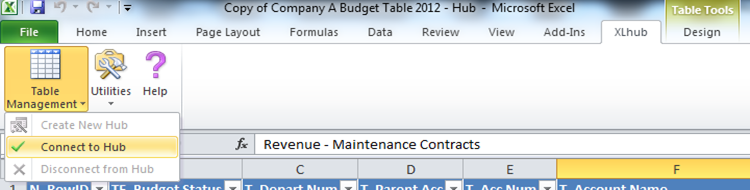
a. Navigate to XLhub ribbon at the top of your screen.
b. Click Connect to Hub under the Table Management icon in the Admin tab.
NOTE : If the Create New Hub option is active the Table Name does not match the name of the table that you want to connect to.
NOTE : Before retrieving another version of the table be sure to save the newly hubbed table to the hub using the XLhub Save button.
Congratulations!
LIVE CHAT

Contact
Phone
248.690.5250
contact@metricx.com
Address
Metric-X, LLC Rochester, Michigan 48307